Building a Butterfly

i-MLSD7zL-LThe climax of our show ‘Ziibi’ was going to be a butterfly, and it was going to be awesome. We wanted to end with a ‘wow’! We wanted a huge butterfly, larger than life, ending the show by flying over the audience. Unfortunately, live theatre exists in a world with laws of physics and gravity.

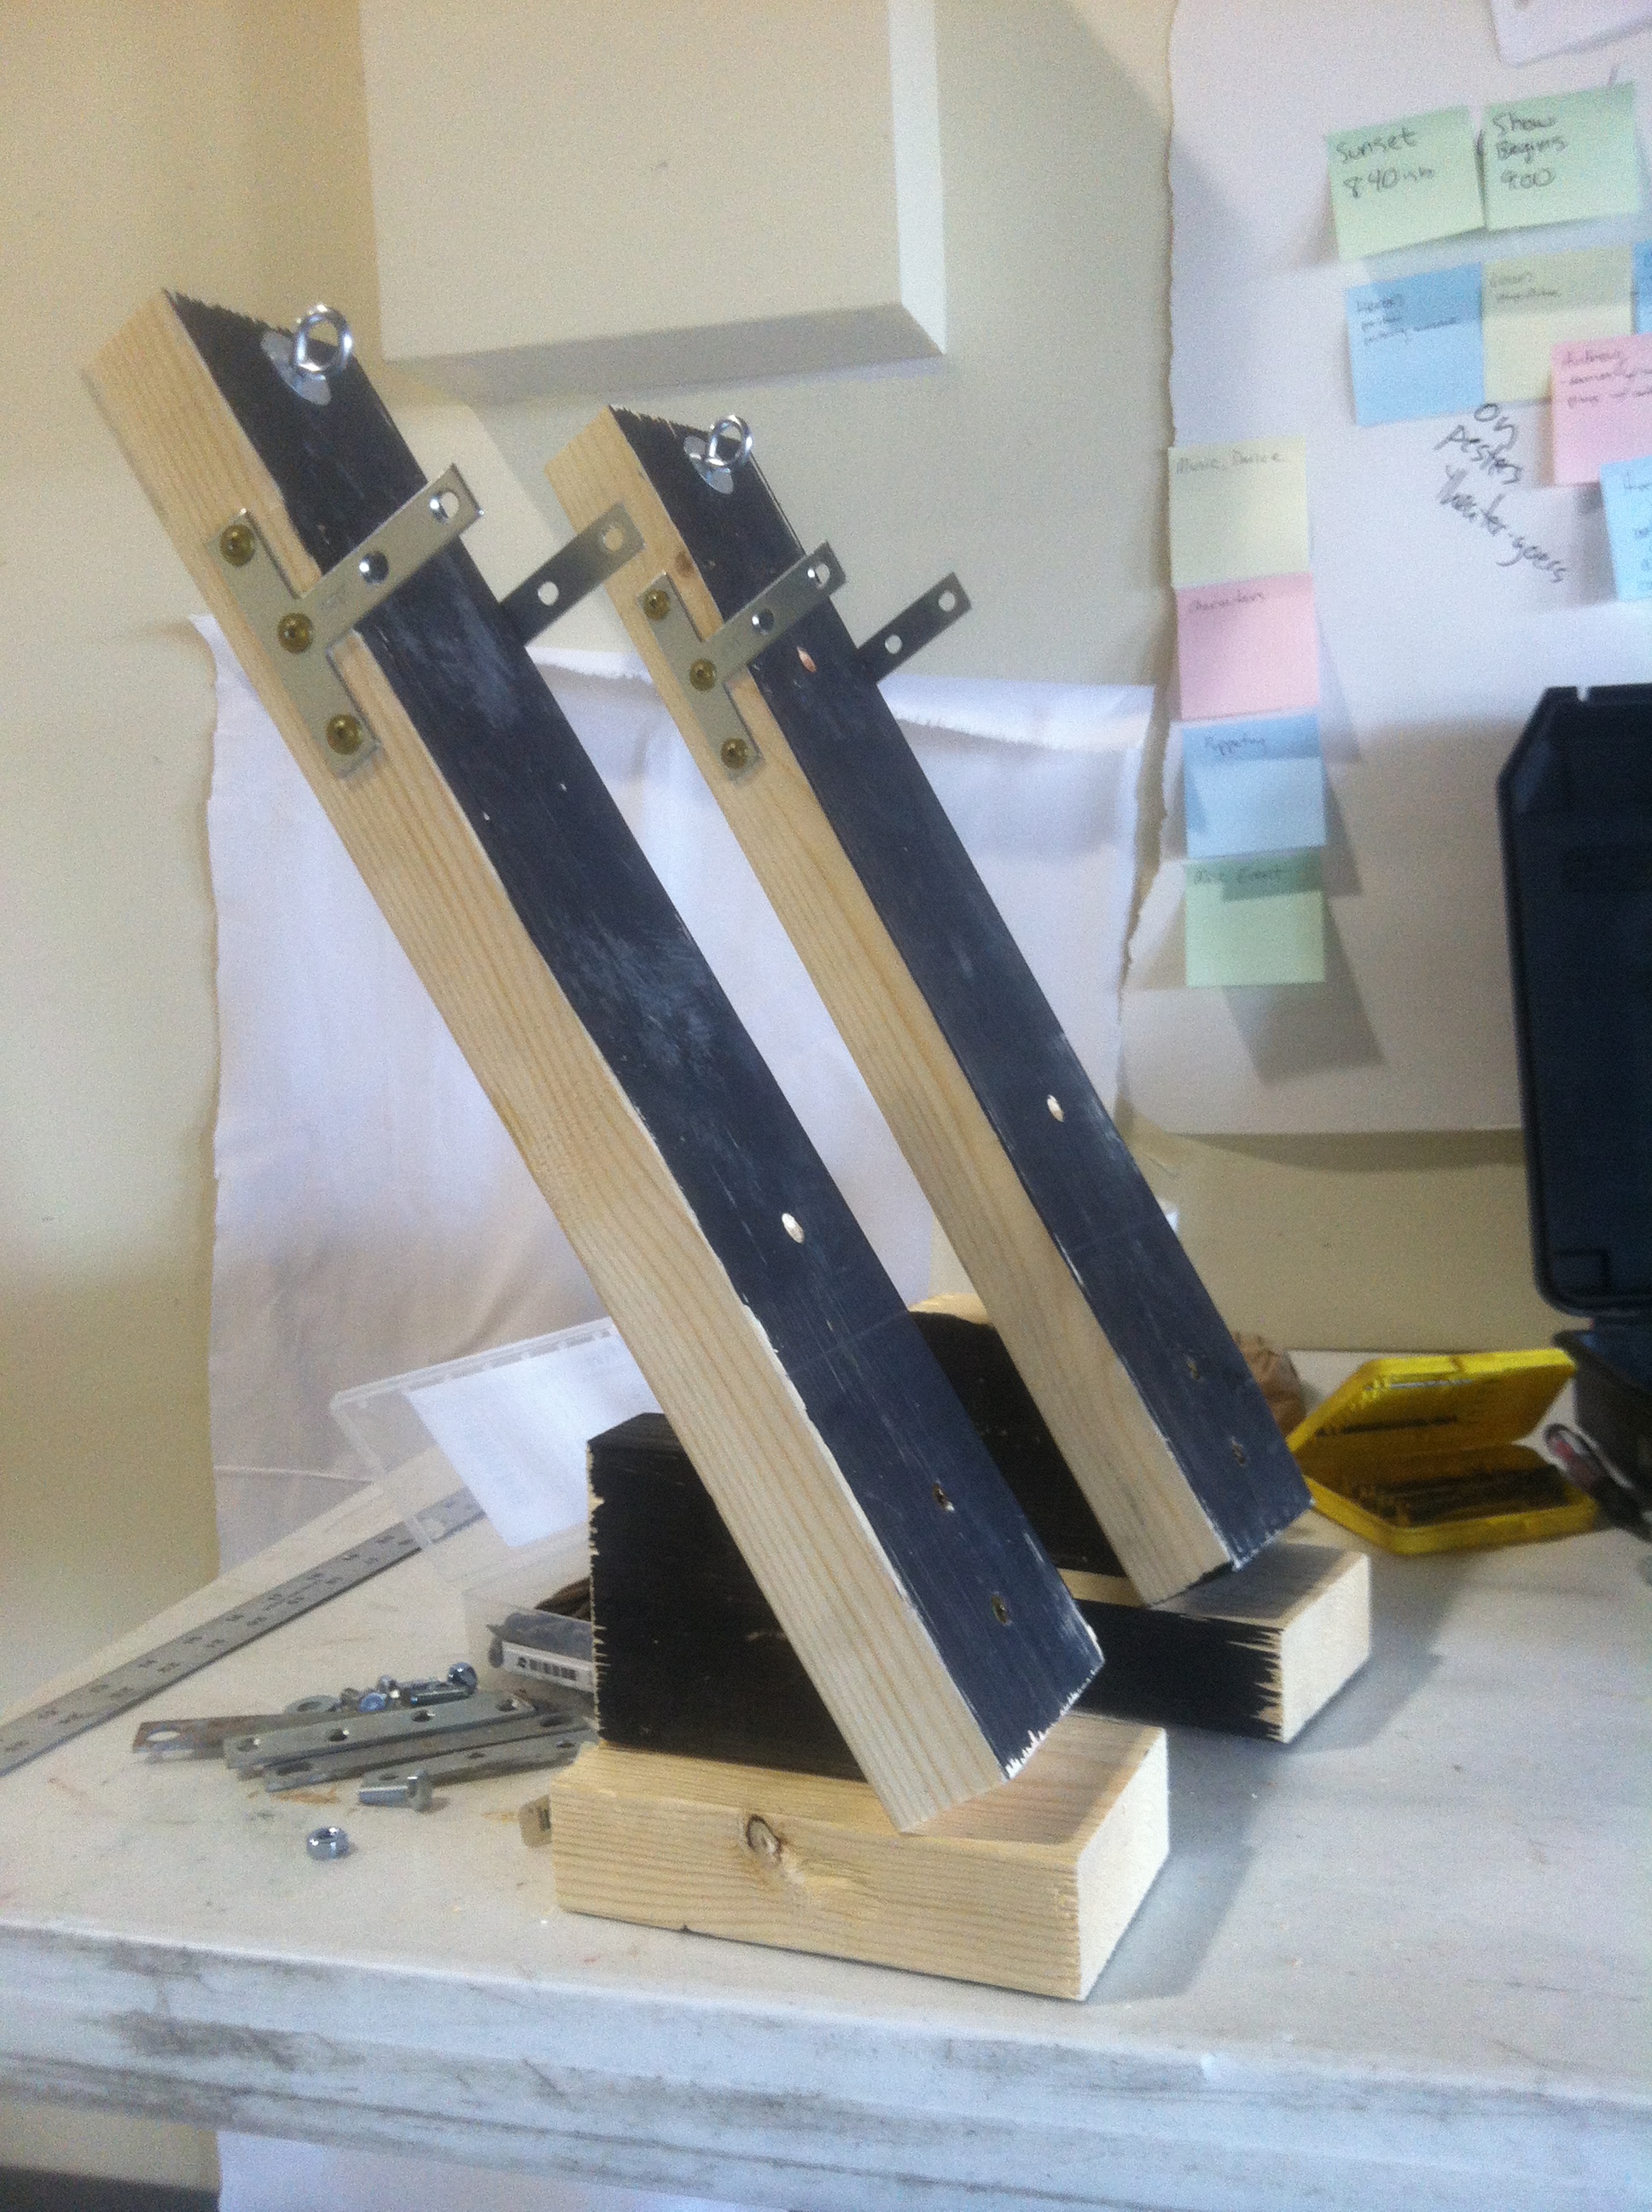
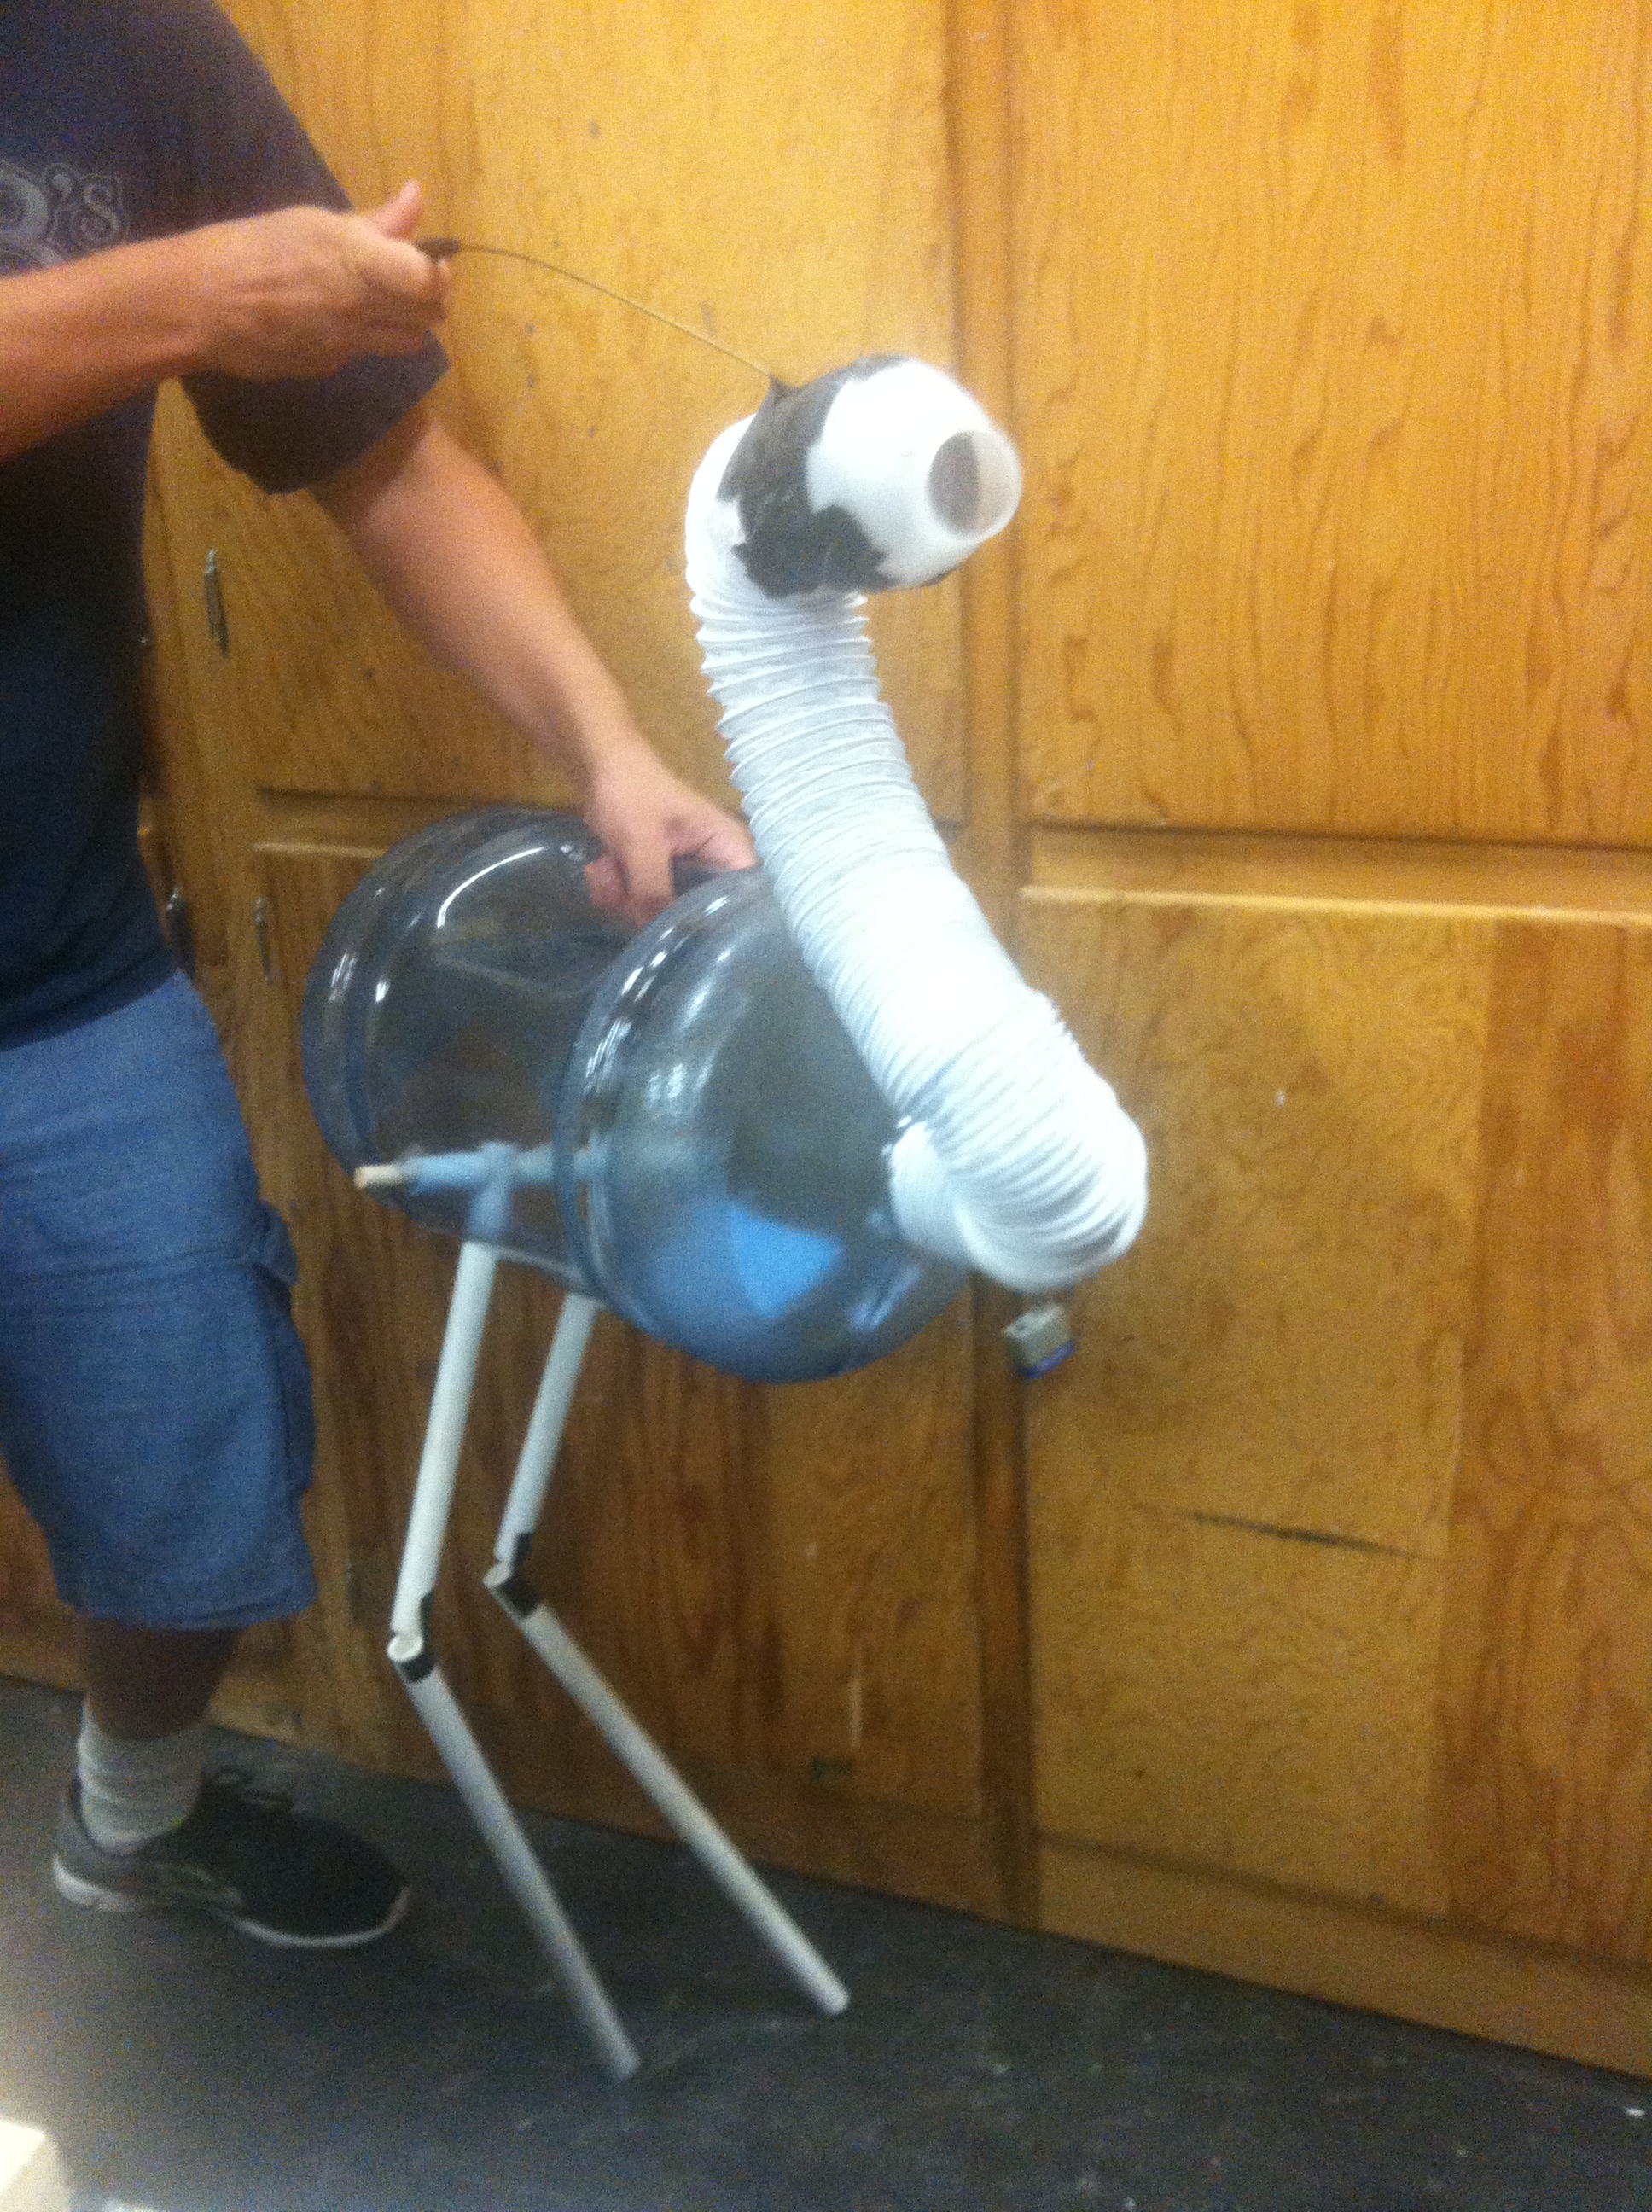
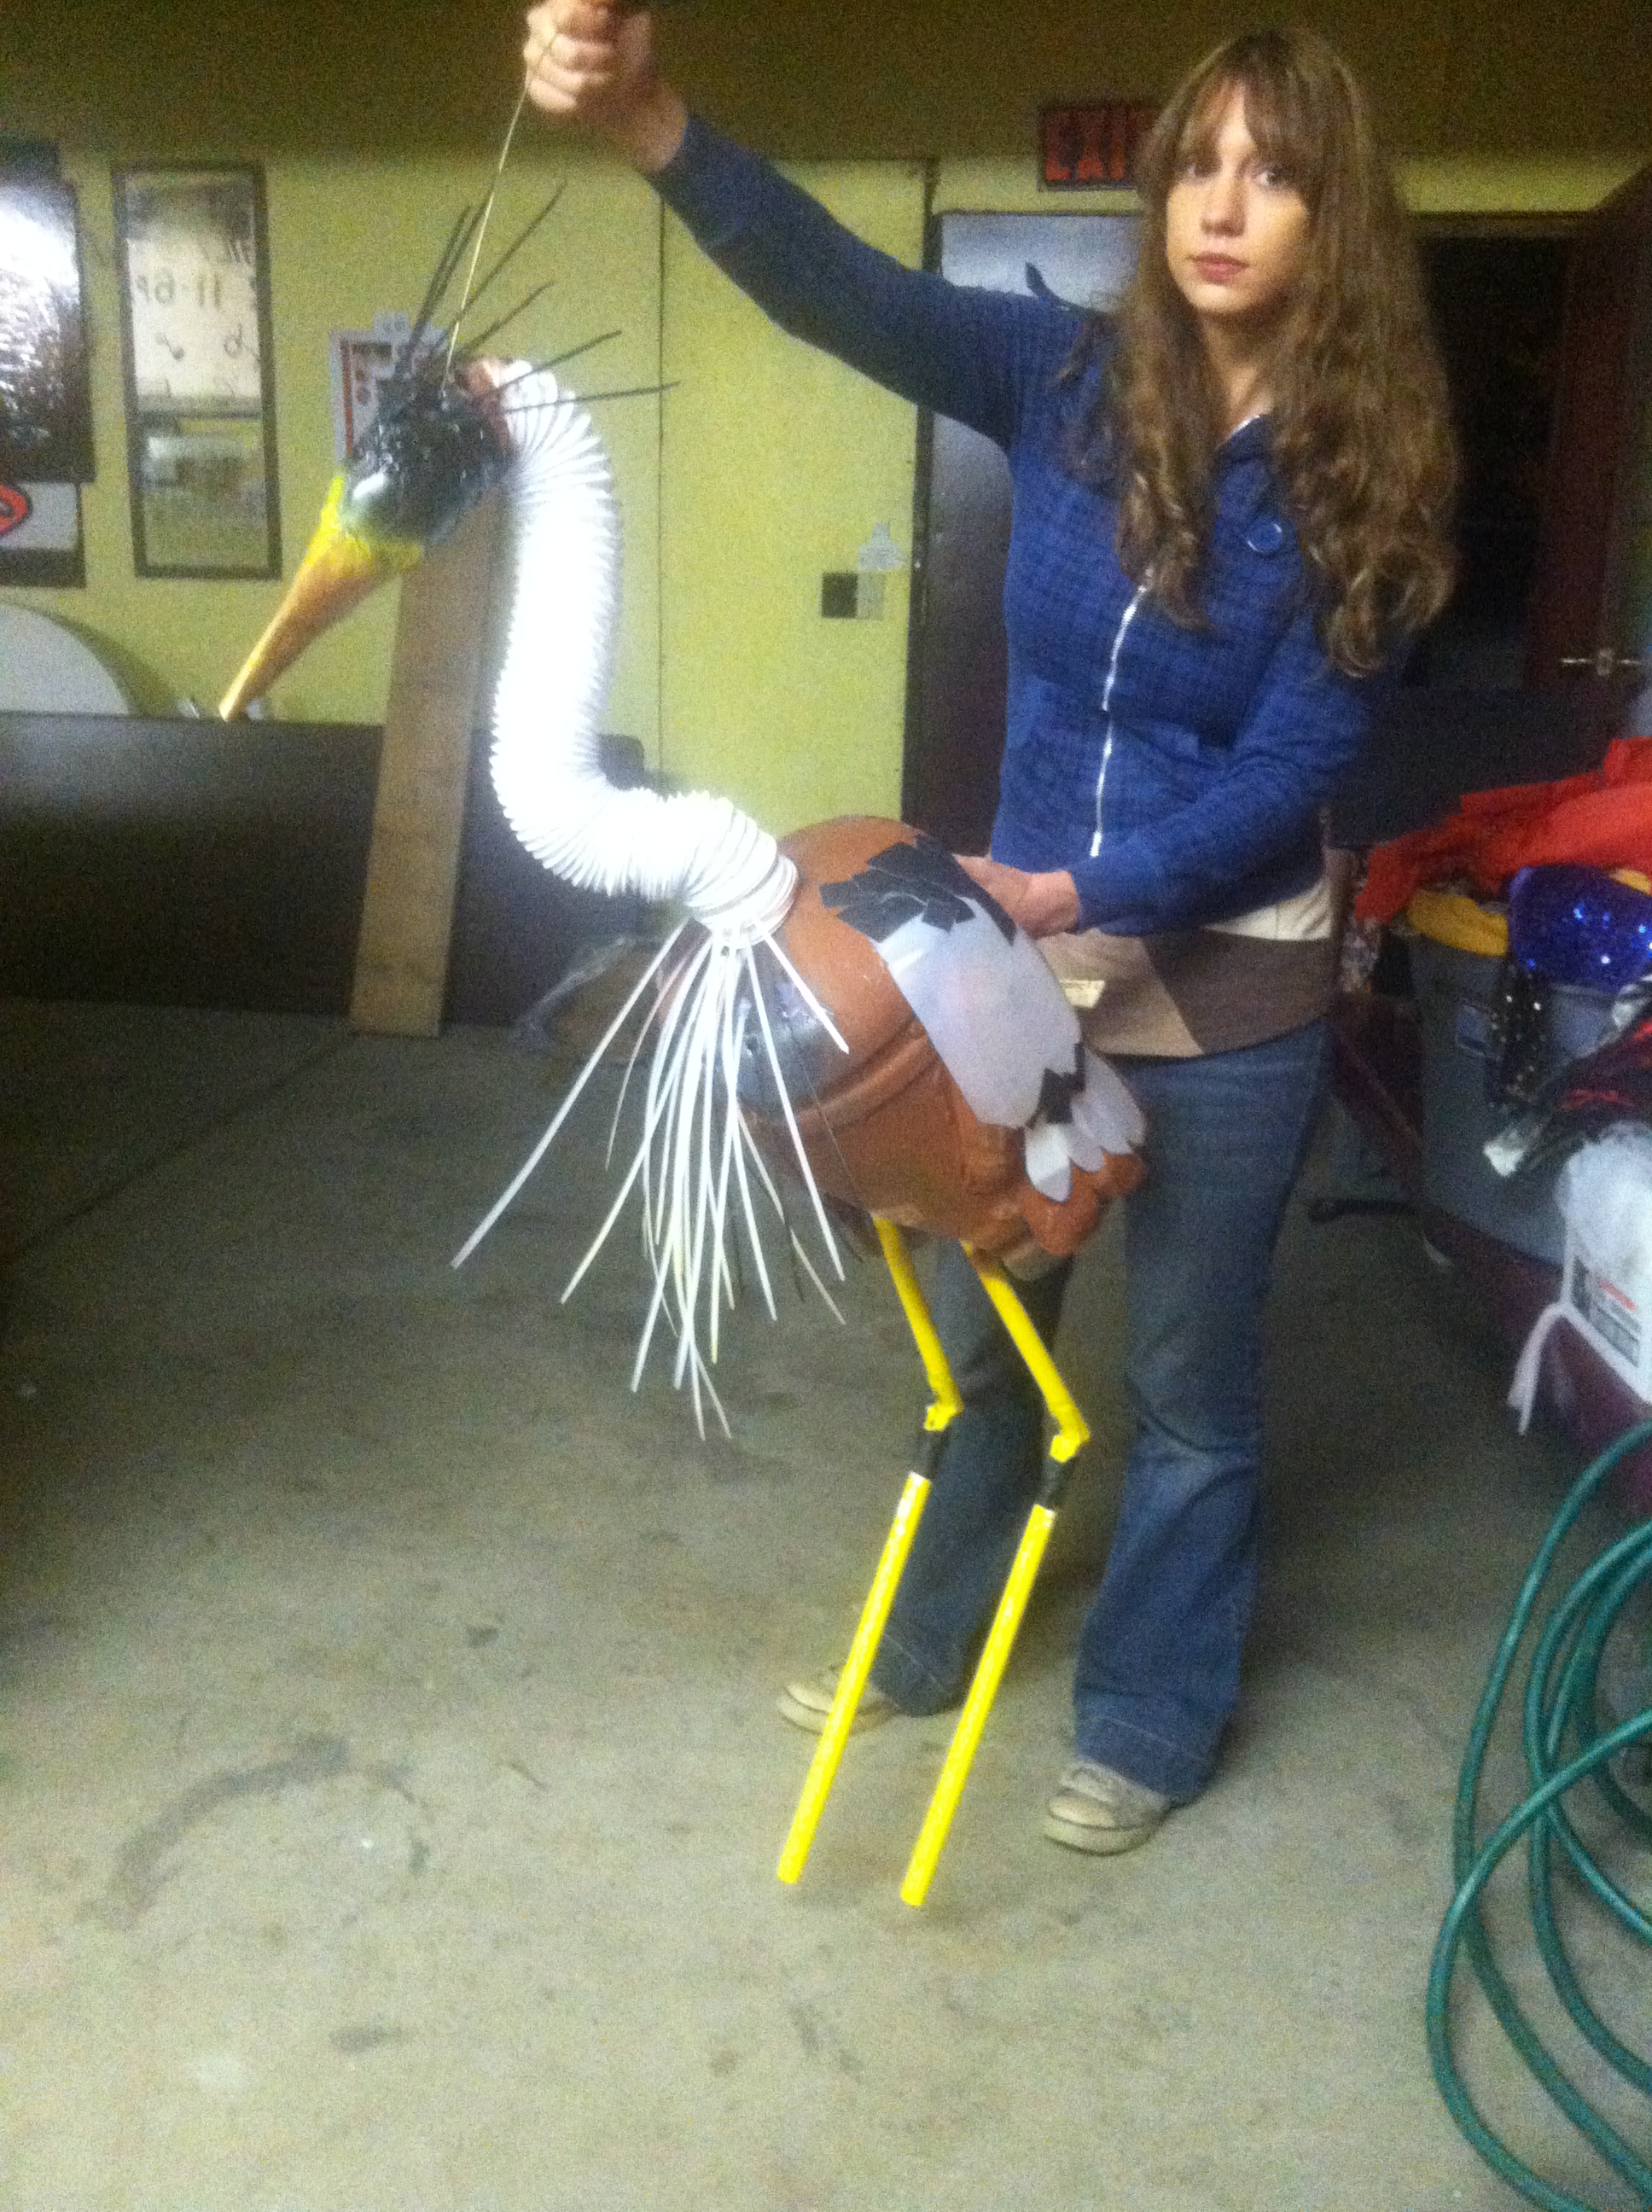
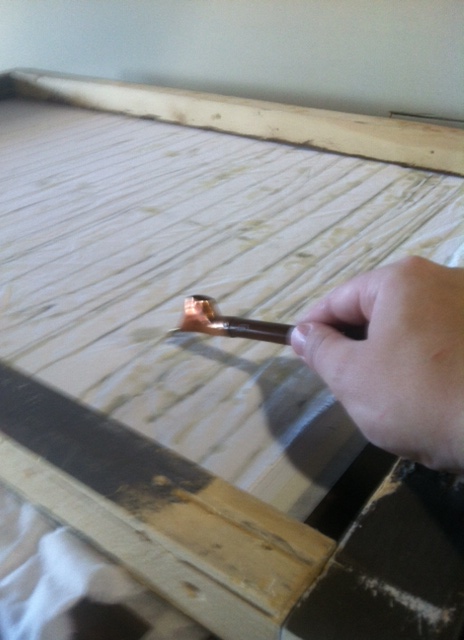
I don’t have pictures of the building process, because it was a frustrating series of trials and errors and dead end ideas. At first we thought we could somehow attach enormous butterfly wings to a quadcopter and flap the wings with the movement of the drone up and down. That led down a path that seemed more plausible of buying or building an ornithopter that could be flown by remote control and have actual flapping mechanics keep the butterfly in flight. Besides being expensive, that also didn’t prove to be practical because of the speed it would have to travel, which would not give us the control we would need for stage. I bought a $50 ornithopter RC bird, that we thought might also be usable as birds in another number for the show. I tried extending the wings into a caterpillar, but the little, light-weight flyer did not have the torque needed for large butterfly wings.

i-v2FfwGV-LThen I figured I could build a motorized ornithoper to power the wings, but then suspend it hanging from a pole to control the speed and not have to worry about keep it in flight. I bought a little RC car and destroyed it for the motor. Again, the puny little motor didn’t have nearly enough torque to drive the large wings. Around the same time, I had ordered an ornithopter kit to build a rubberband-powered flyer. It taught me the mechanics needed, but as a small light-weight flyer, it wasn’t what I needed for such a large prop.

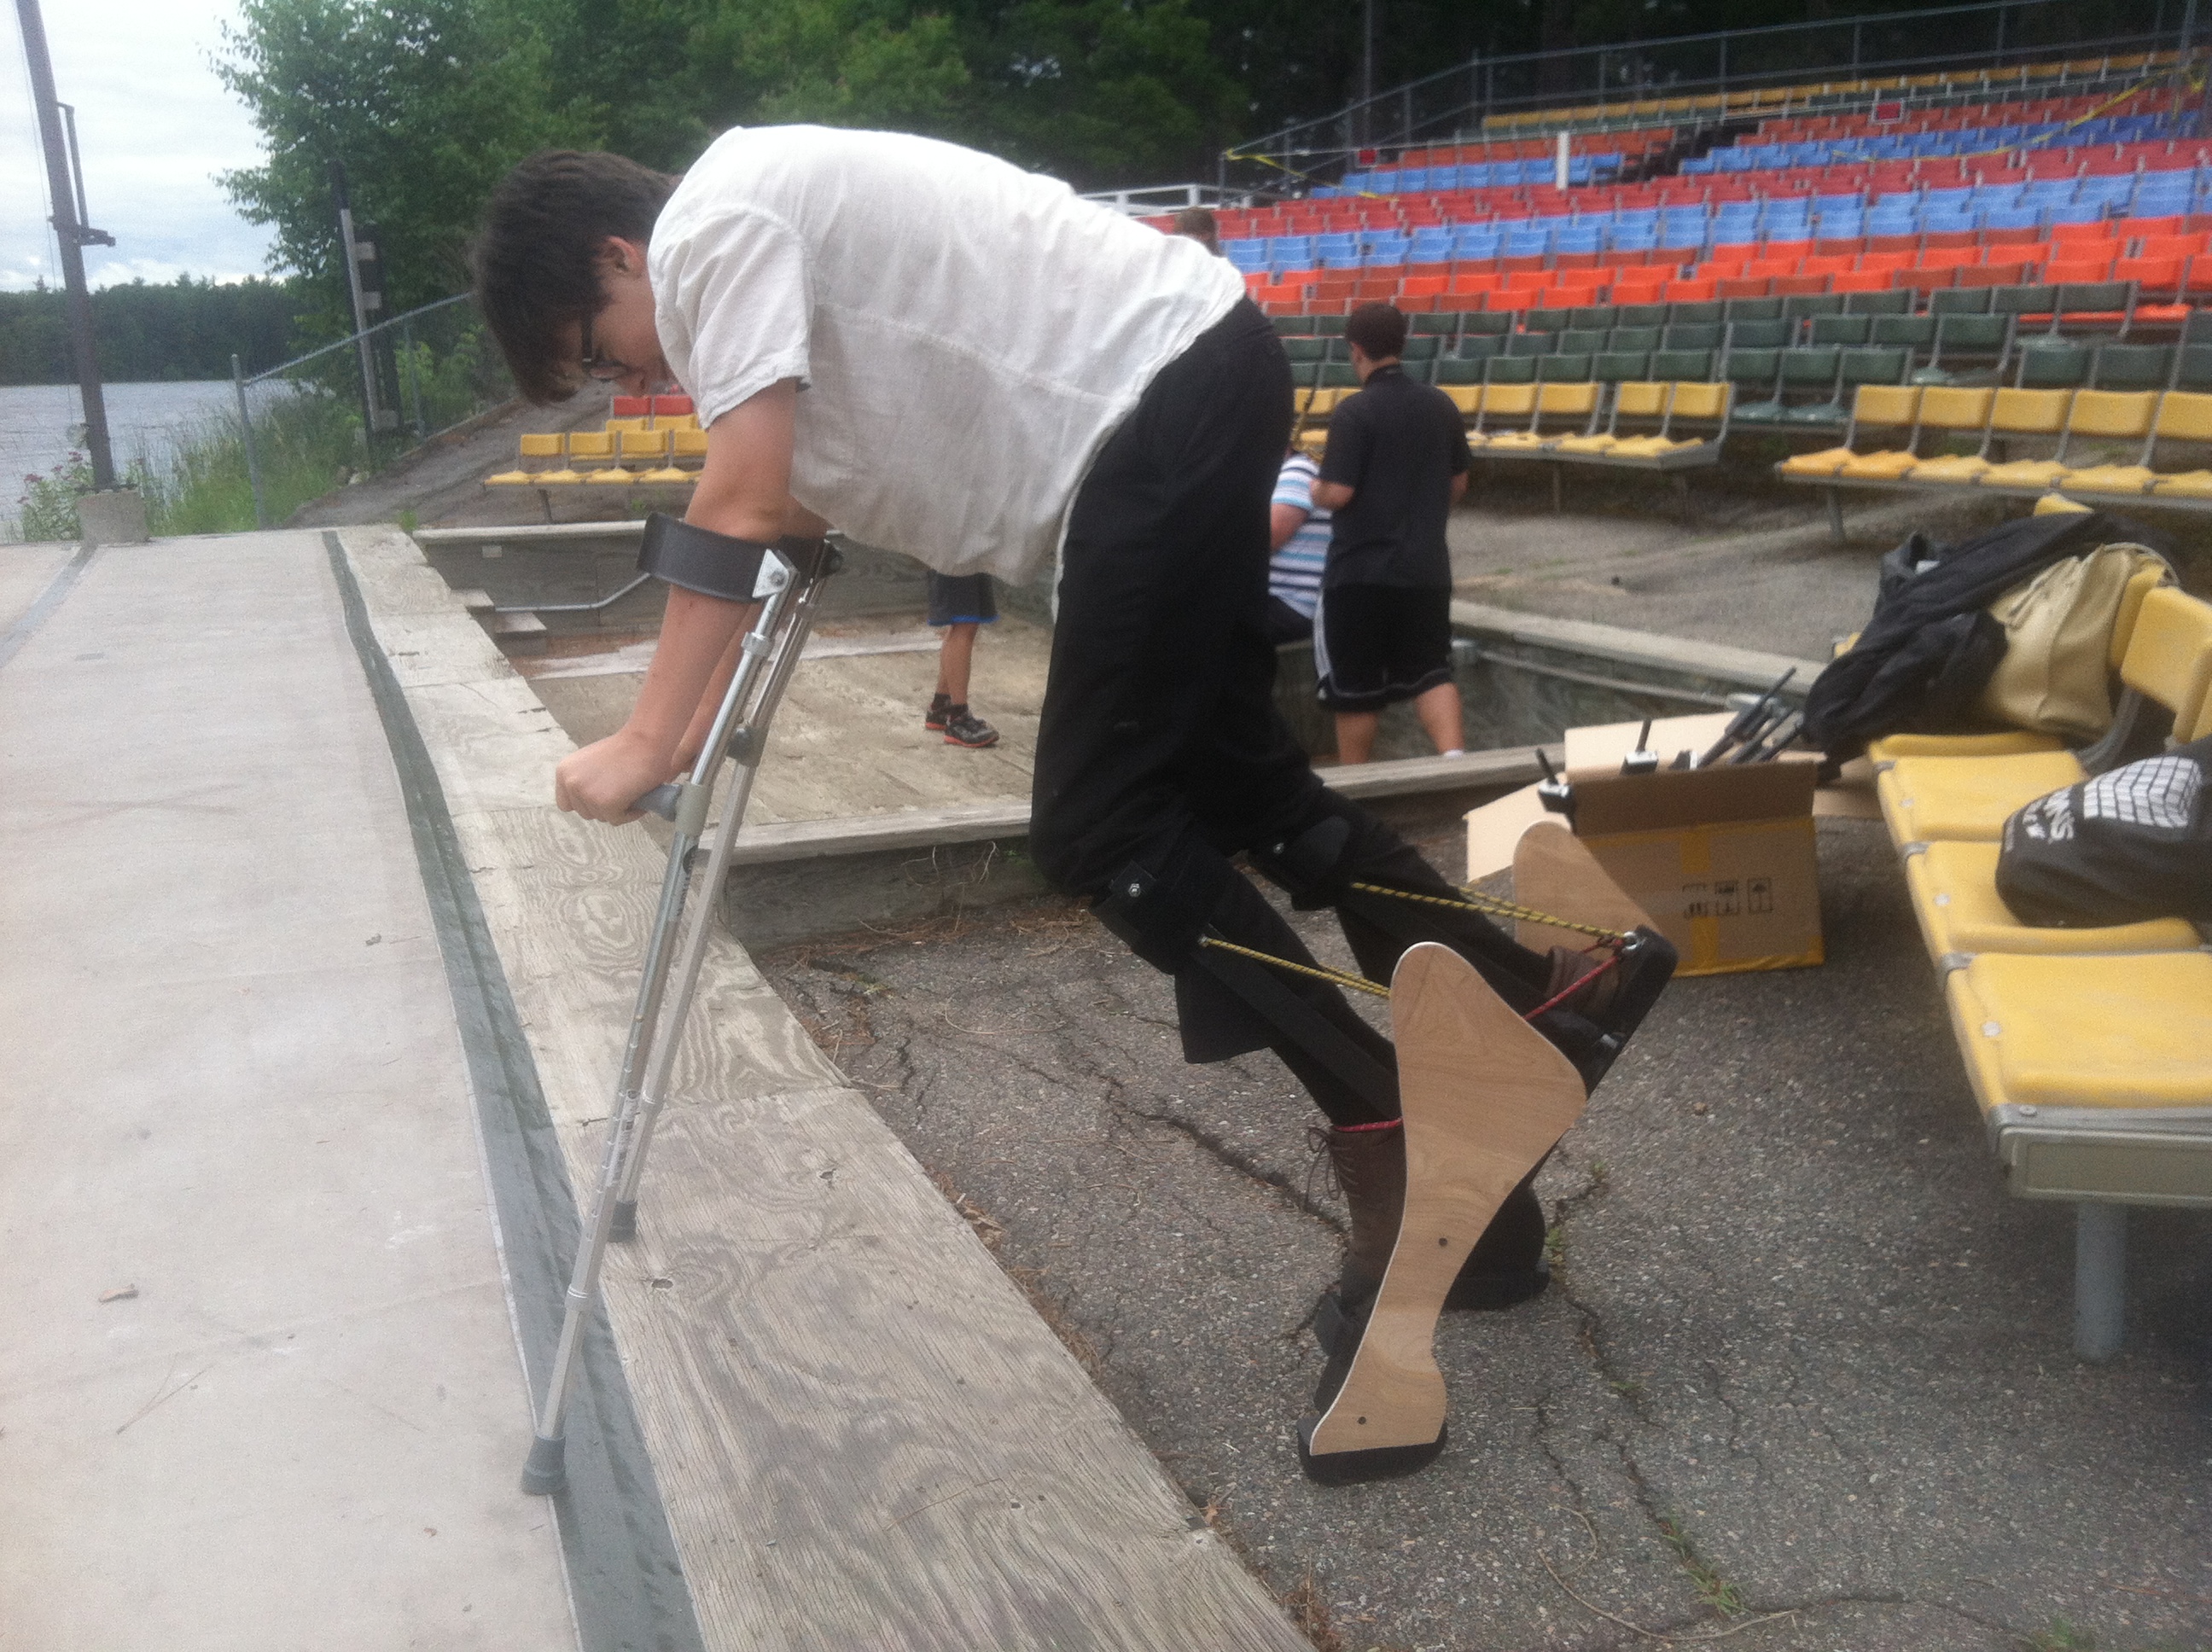
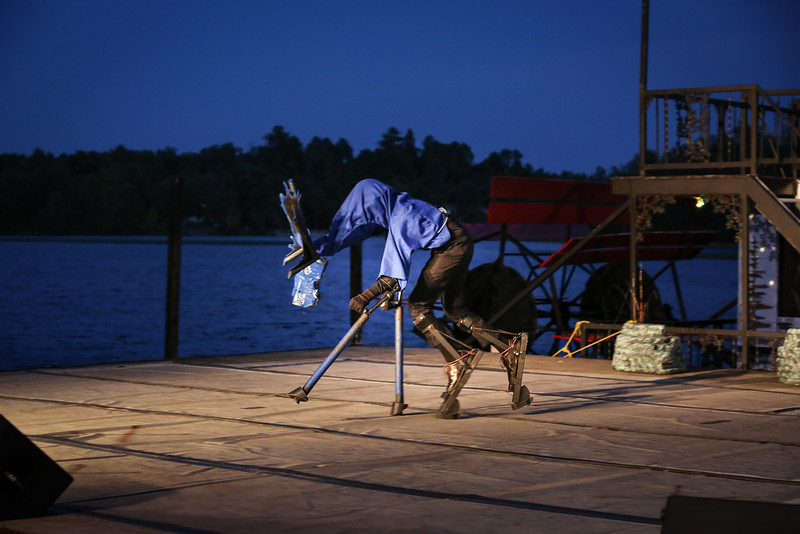
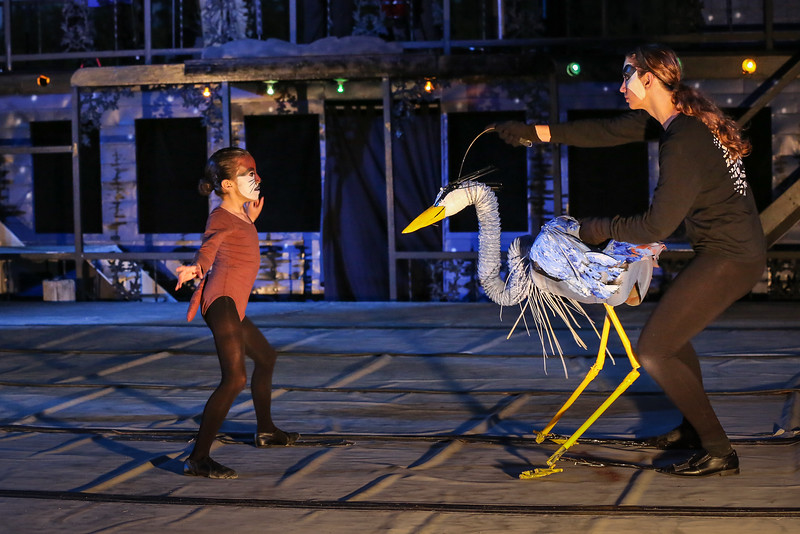
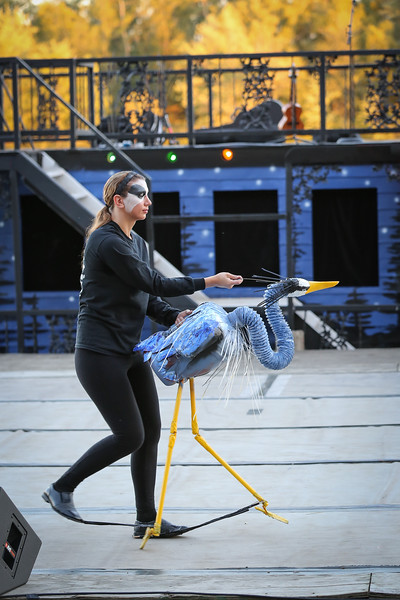
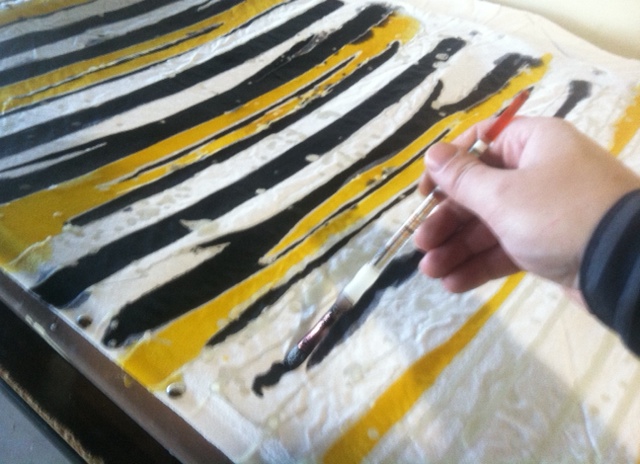
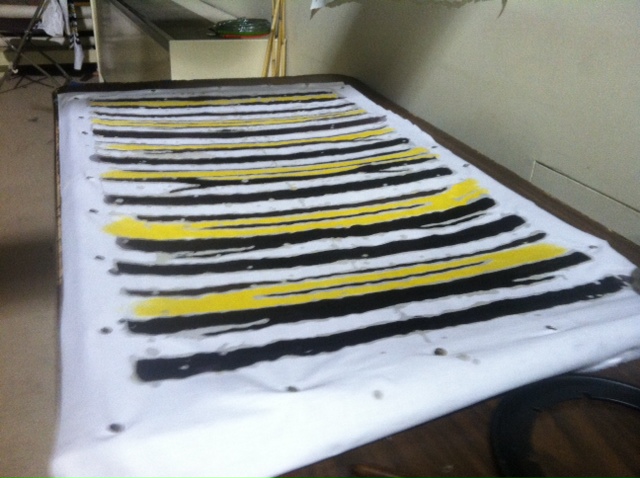
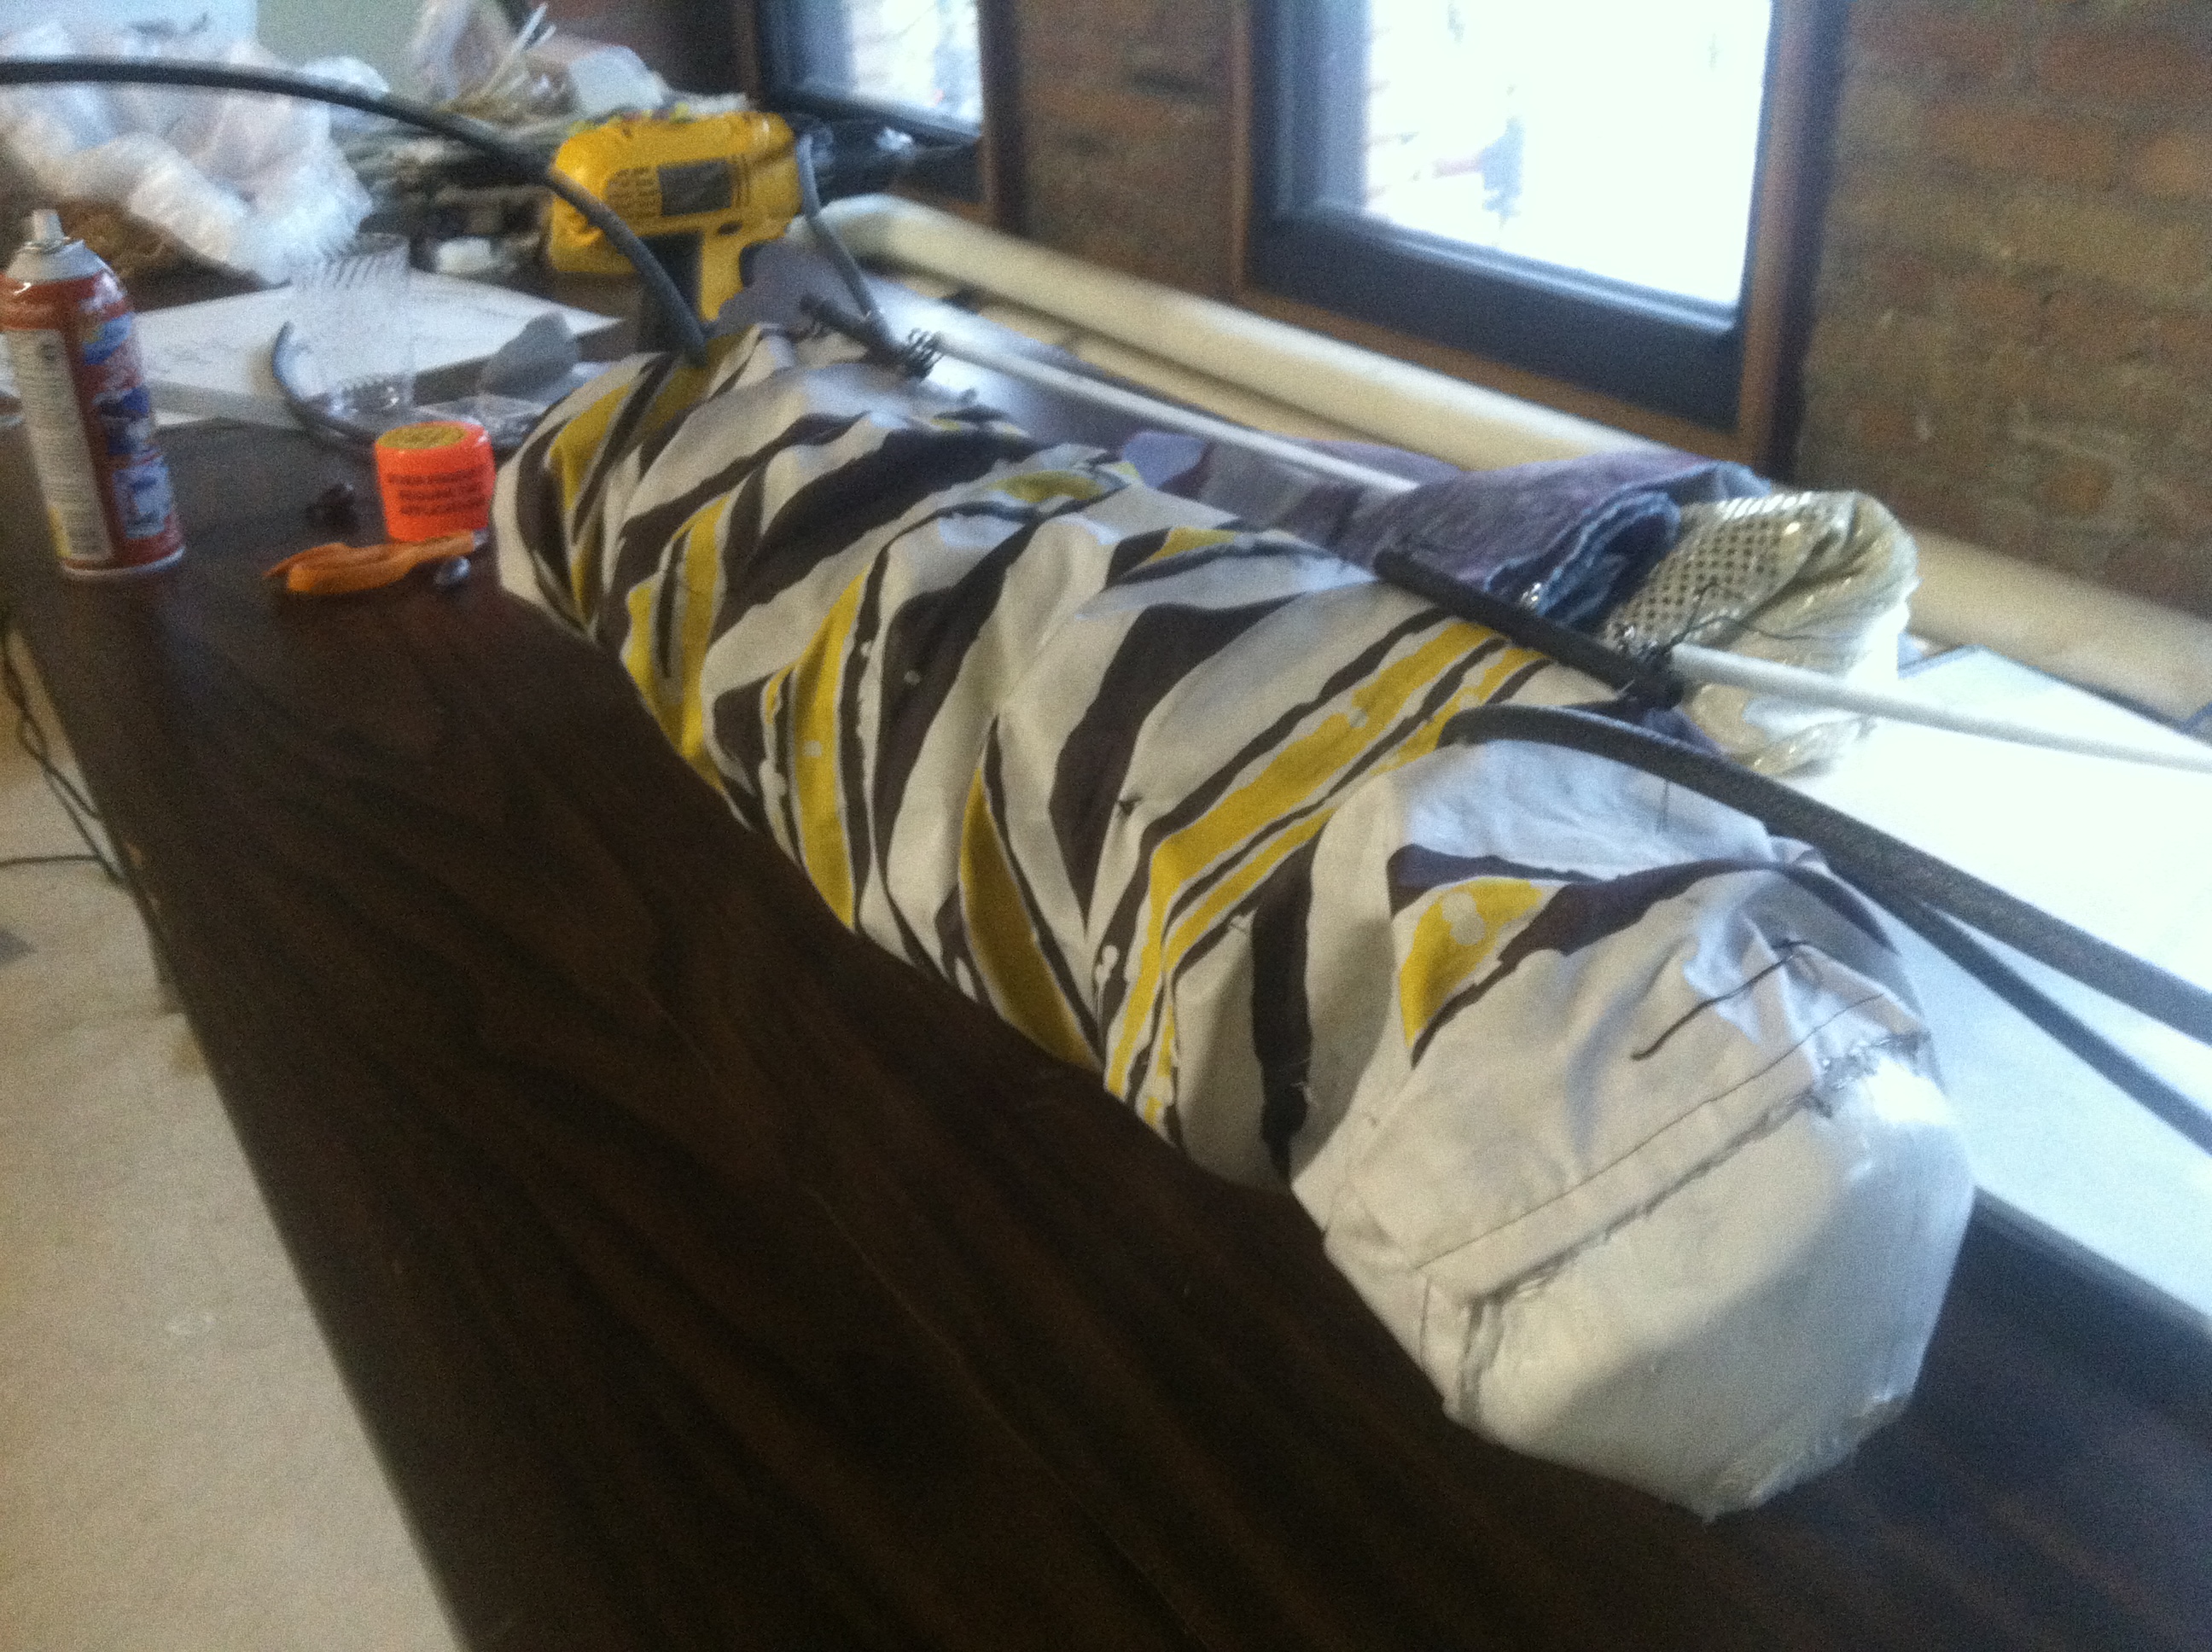
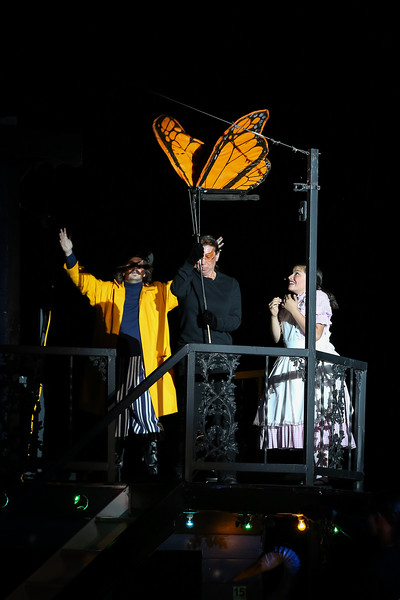
In the end, I built a non-flying ornithopter, which is held on a stick, powered by the puppeteer driving a PVC sleeve up and down along the handle, which powers the rods to flap the wings. Although it was built, my time with it wasn’t finished. It required numerous repairs and replacements, as the wooden dowel rods couldn’t hold the strain from the torque of the wings. Alas, it’s not much of a story, but it was certainly a learning experience.

Making a Moose

In creating a visually intriguing show celebrating life on the Mississippi and in the Minnesota wilderness, it seemed having a more-or-less life-sized moose could be pretty cool. We found some stilt designs for cosplay satyrs and werewolves and adapted them for a quad-stilt application. I had started plotting out the plan to build this in an earlier post, but now the puppet/costume is complete and so here’s a review.

This slideshow requires JavaScript.

IMG_2735Oddly enough, building the stilts was more or less the easy part. The strapping system proved to be more difficult. Eventually we screwed a pair of old shoes to the 2×4’s and secured the shin rest to the leg with industrial Velcro strapping. Several people explained concerns of safety, but with 2×4’s, GRK fasteners, and metal supports, I feel that we built it with sufficient security.

IMG_3014As with the construction of the heron, we planned to make the head from a reed or sapling frame covered in fabric. This proved to be impractical for several reasons. Needing to be strong but light-weight, we ended up constructing the head from a couple of re-purposed milk jugs secured with hot glue and duct tape. Antler were made from foam sheets and backer rod, and the head was extended by two dowels from an old construction helmet. The front-heavy apparatus had to be secured down the back via two cords that hooked onto the actors’ rear belt loops. Needless to say, it also became a wicked wedgie-maker.

IMG_3020 We started with a brown primer to bring the milk jug, tape, and all components into a uniform color. Then we waffled on whether to keep it a traditional brown moose, to go with a red Dala moose, or two what we ended with, which was a blue moose that fit the palette of the show better than the red Dala moose we had been planning. A re-purposed graduation gown turned upside-down served as the cape and covering for the actor.

IMG_2988

Actor Nick Pritchard testing the stilts

Our moose actor, Nick, took to the stilts quickly and became rapidly proficient. He was able to mount and dismount the stage from the adjacent boat and ascend and descend the slope running along the audience. The forelegs were re-purposed crutches donated by one of our cast members. We covered the crutches with pipe insulation to thicken them, and added hooves made from backer rod.

i-XRrQb8f-L

Moose in performance. Photo credit: Jennifer Mariano

The only shame is that ‘Marvin the Moose’ didn’t get more stage time in the show, but there was some charm in his rare, elusive appearances. (As a side note, Nick got pretty good on the stilts and could even walk upright. When walking upright, he bore a striking resemblance to the wendigo of Ojibwe lore.)

i-C2Ct4B8-L

Moose in performance among the birches. Photo credit: Jennifer Mariano

Making a Heron

IMG_2982

Heron in progress.

In a story celebrating life on the Mississippi, one of the first visual elements we wanted for the show ‘Ziibi’ was a life-sized heron interacting with characters and audience. Originally the hope and concept was to build the heron mostly out of natural materials, such as a body framed with young, flexible saplings or reeds covered by dyed fabric. For various reasons, that proved to be impractical, and so we ended up constructing the bird mostly from plastic, and mostly from recycled materials. The body may be recognizable as a 5 gallon water cooler jug, which I had several laying in my basement from buying water to make home brew. Legs were constructed from PVC left over from another project.

IMG_2984

Heron in progress.

Feathers were made from various recycled milk jugs, which incidentally don’t hold paint very well. We’d recommend sanding them first so that the paint can stick. Breast and crest feathers were made from zip ties, and the neck was a flexible vinyl hose, and the head from a quart-sized milk bottle. So although the heron wasn’t made from natural, local materials as originally hoped, at least she was about 75% recycled/reused material.

IMG_2992

Sharon the Heron before her paint job. And before her footwork.

Without movement, a puppet like our heron is just a pile of lifeless plastic. It takes talent and skill to bring such an inanimate object to life and give it character. Our puppeteer, Rachel Randle, studied YouTube videos of heron movement and did an applaudable job of bringing the bird to life and giving Sharon the Heron characterization. Little things like leading the walk with the movement of the head, shaking water off the head, and preening itself were subtle tricks that made the audience see a living heron and not a pile of recycled plastic held by an actor.

i-QLTwdL2-L

Heron in performance. Photo credit: Jennifer Mariano

Building the heron, as well as the other props and puppets, was a series of experiments, bouts of trial and error, trouble-shooting, and repair. Originally designs were attempted to make the feet and legs move with an engineering of levers and pulleys so that it could be made to walk with the same hand holding the bird’s body. This worked with minor success, but had limited control and effect. We designed to connect the bird’s feet to the puppeteer’s feet. That brought its own challenges, but proved to be the best control of movement and character. As evident in the photo, the feet were a bit gimpy and had some trouble staying aligned. If we were doing more than a short run of six shows, we certainly would have gone back to the drawing board. But as it was, the feet were generally functional and only occasionally did the heron look like she was walking in a constant grapevine action; or more accurately, only occasionally was it walking with broken ankles.

i-whTw7fT-L

Heron in performance. Photo credit: Jennifer Mariano

We had the heron walking about in the crowd for fifteen minutes before the show, and she was a big hit. Kids loved her, dogs feared her, and adults struggled to keep their popcorn away from her. Now that the run of ‘Ziibi’ is over, I hope she will find another opportunity to come alive again.


i-WszhB2Q-L

Creating a Caterpillar Puppet

The upcoming Uncommon Loons/Grand Rapids Showboat production of ‘Ziibi’ involves a large caterpillar puppet. As with most of the costumes, props and puppets in this show, we hope each element will be its own piece of art. The caterpillar will be a type of marionette with its skin dyed with batik techniques. Here is a log of our process. I’m not experienced in batik or puppet construction, so we are learning as we go. Here’s to trial and error augmented by rigorous research!

Step 1: Cutting the fabric to size and stretching it on a temporary frame. image(3)

Step 2: Drawing a pattern out on paper. Inked in black marker so that it can be seen through the fabric when we flip the frame over onto it.

image(4)

Step 3: Flip the stretched fabric onto the pattern. Trace the lines in wax. This took three tries to get it right. The first two attempts were not perfect, as the wax didn’t soak through the fabric entirely in some spots. This allowed dye colors to bleed into each other later in the process. The lesson learned: keep the wax hot and move slowly so it can soak through. Straight lines are tempting to do quickly, but the end quality will suffer for it.

image(5)

Step 4: Brush the dye onto the fabric within the wax outlines.
image(6)image(7)

Step 5: The wax was removed with an iron and newspaper. At this point I should have put the fabric in hot water bath to get rid of the rest of the wax, but with a test wash another piece dyed the same way had bled into one piece of gray fabric blah. So we left it as-is and water-proofed it with clear silicone spray.

After this, I didn’t keep detailed photos of the process, but then the fabric was stitched lengthwise and gave it ribs and form with 7″ metal rings stitched in. The front and back were made from recycled milk jugs cut down, antennae made from foam backer rod.

IMG_2740 IMG_2741

Photo from the show in August 2015:

i-b24wX6V-L

Caterpillar in performance. Photo credit: Jennifer Mariano

i-GFsfwvr-L

Caterpillar in performance. Photo credit: Jennifer Mariano